
TWO MINUTES, NO TOOLS
Installation Guide
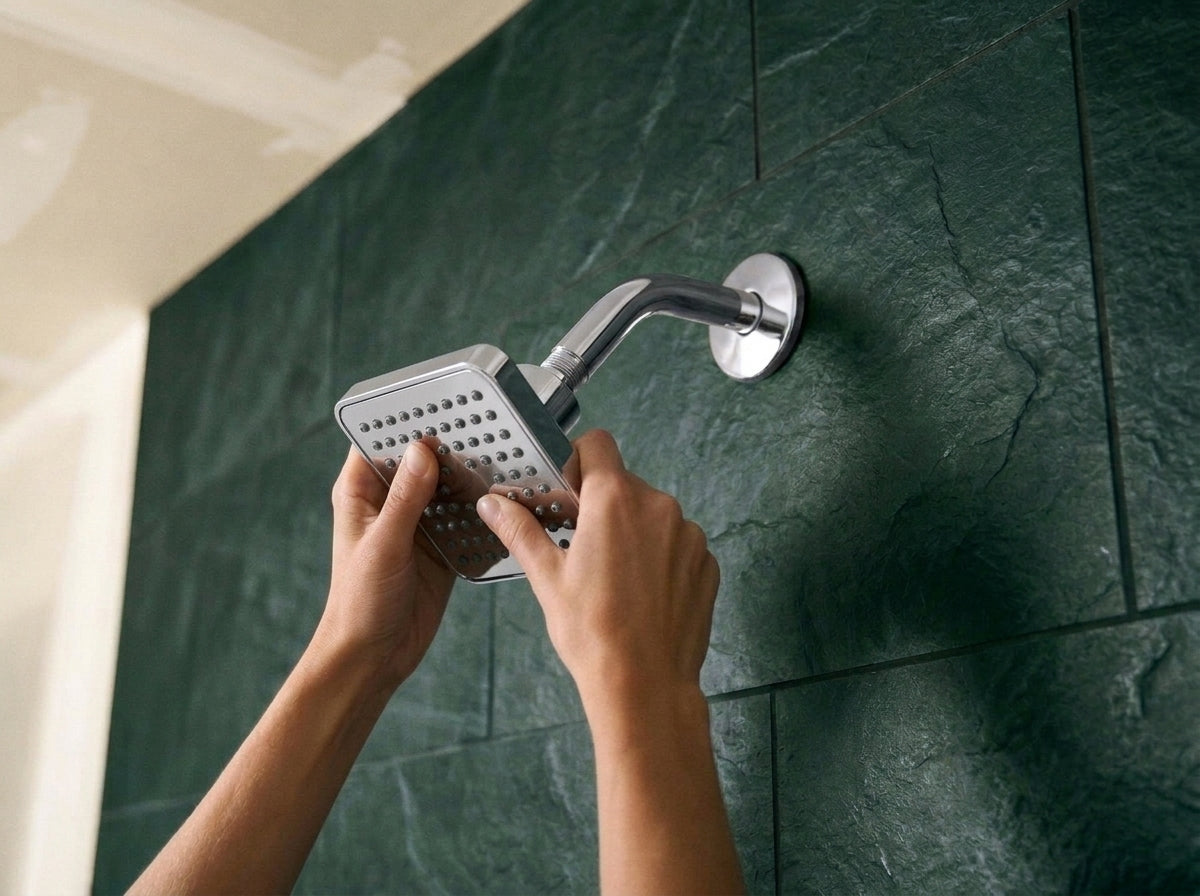
Remove your old showerhead
Turn it counter-clockwise by hand. Most come off easily. If yours doesn’t, wrap the cloth around it for grip — that protects the finish and gives you enough leverage.
Once it’s off, wipe the threads on the shower arm clean. Old tape and mineral crust are the usual cause of drips later, and ten seconds here saves you redoing it.
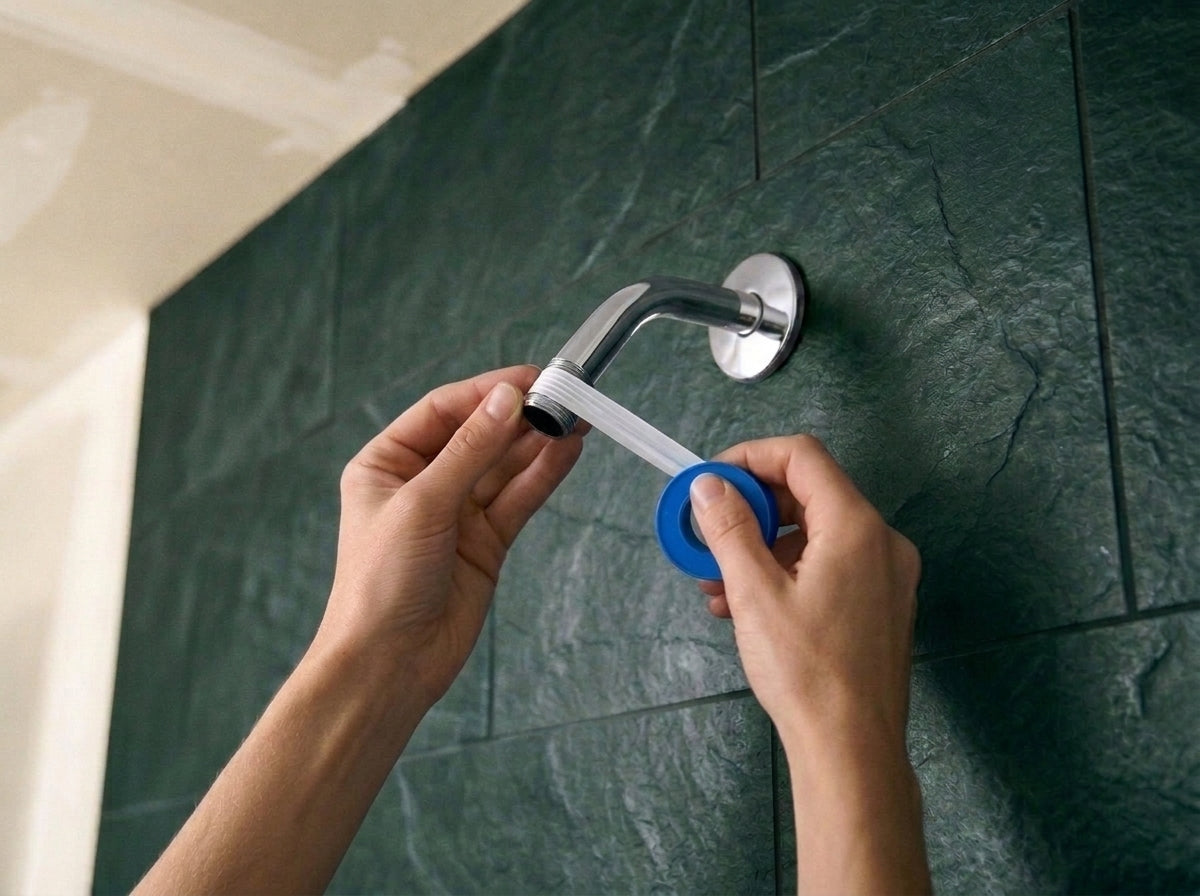
Wrap the threads with plumber’s tape
Two full turns around the exposed threads, going clockwise.
Direction matters: wrap it counter-clockwise and the tape unravels as you screw the head on, which defeats the point. Press it into the grooves with your thumb so it lies flat rather than bunching.
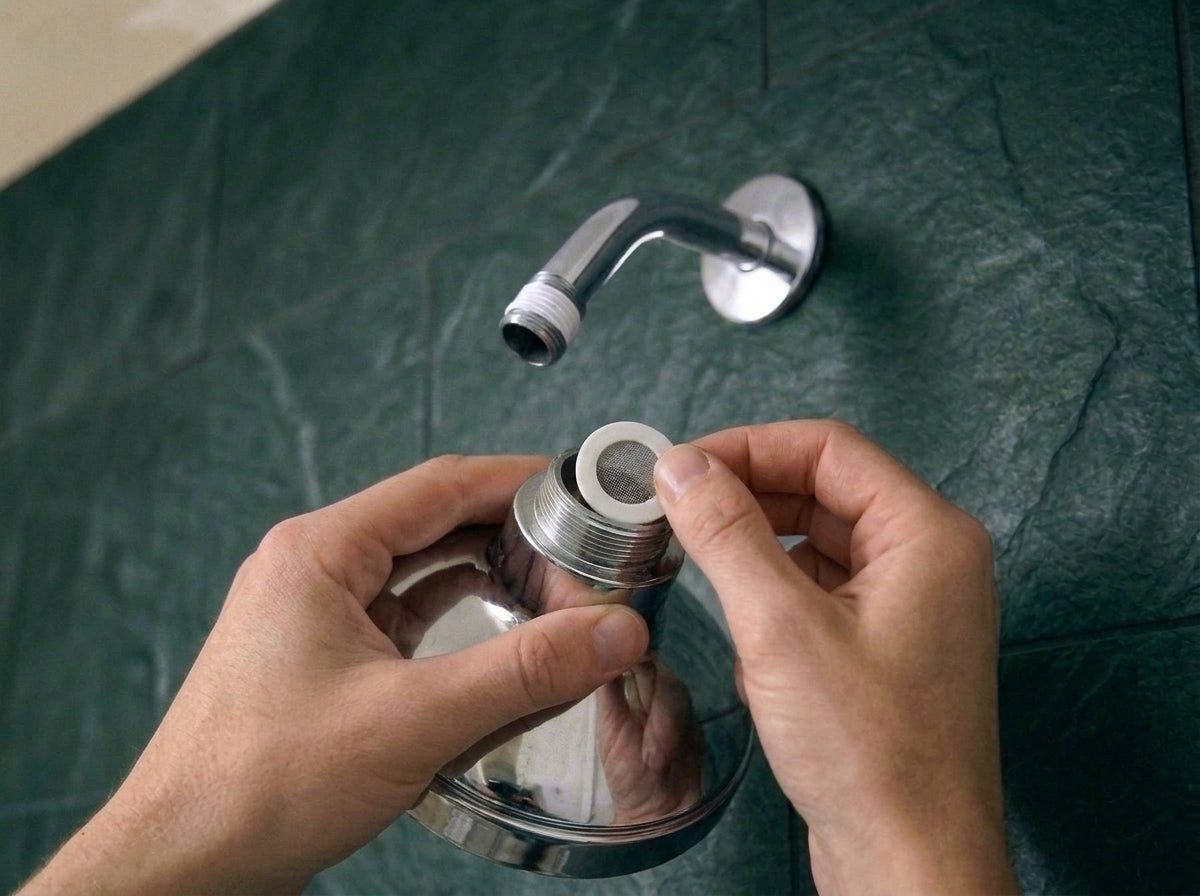
Drop in the O-ring
Look into the inlet on the back of the showerhead — the rubber O-ring sits flat in the recess there. Push it in until it’s seated evenly all the way round.
Don’t skip this. The tape seals the threads; the O-ring seals the face. Without it you’ll get a slow weep at the joint no matter how tight you make it.
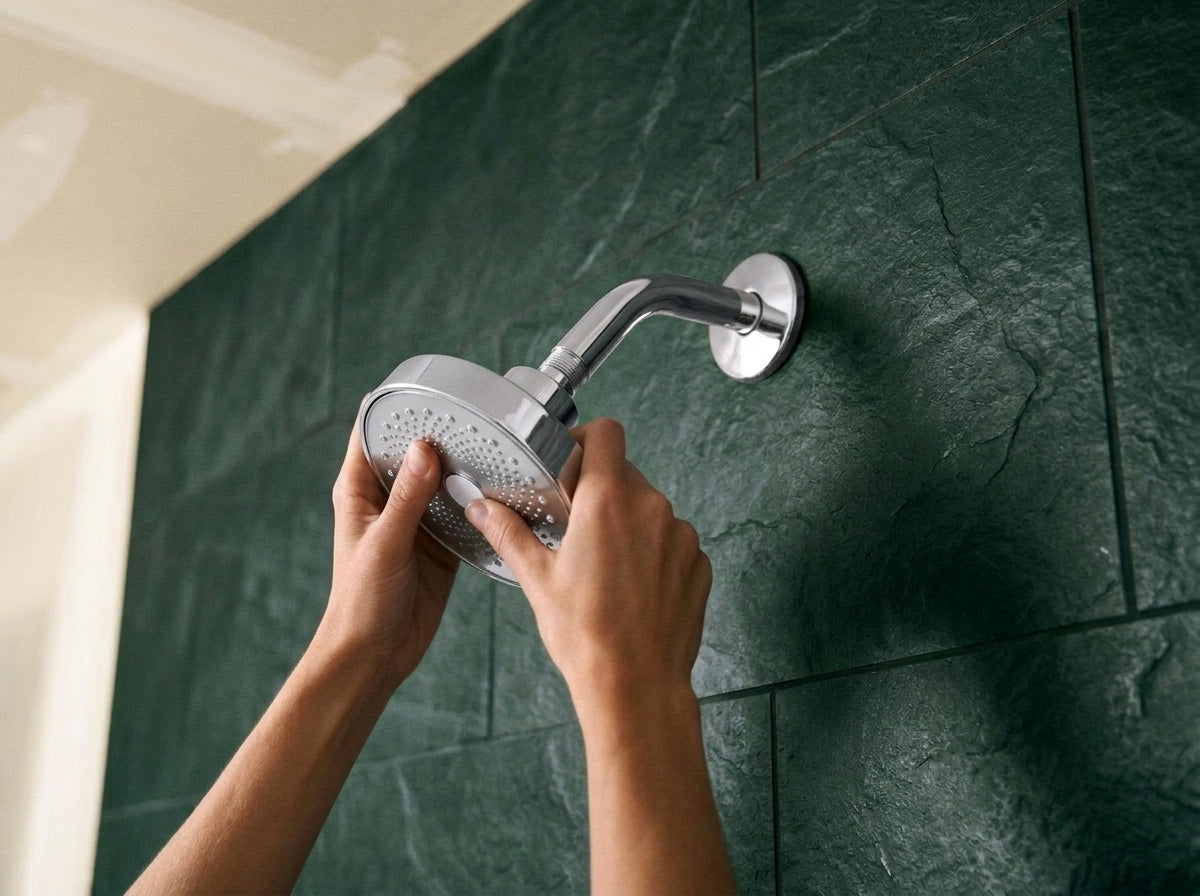
Screw on the Arvo
Thread it onto the arm clockwise and hand-tighten until snug.
Don’t force it and don’t reach for a wrench. The O-ring does the sealing, not the pressure, and over-tightening is the one way to damage the housing.
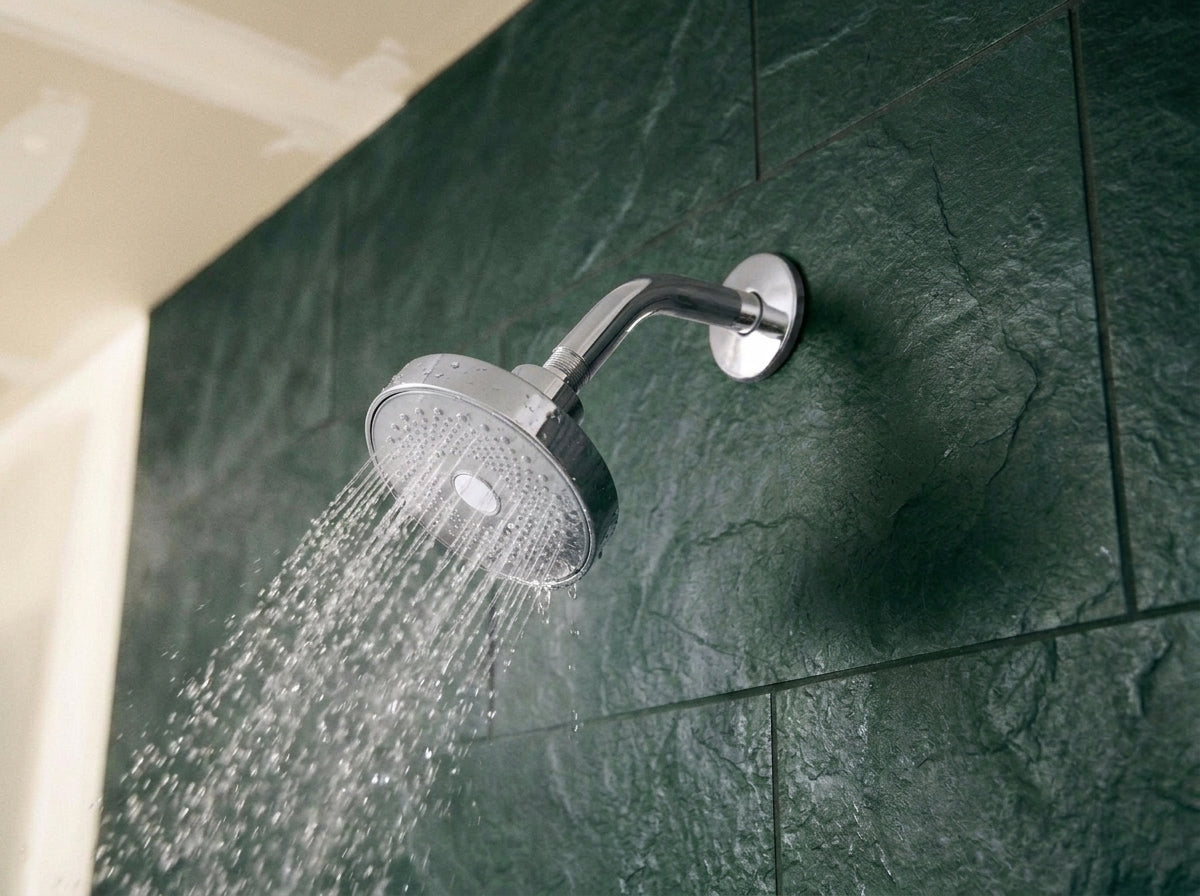
Run the water
Thirty seconds on full. Check the joint where the head meets the arm.
Dry? You’re done — the cartridge is already fitted, so you’re filtering from this shower on. A drip means another quarter turn by hand, which is almost always enough.
If something's not right
Email support@arvogoods.com with a photo of your setup and we'll sort it out.